My First Steps: Setting Up a Node.js Environment for AI Scripting
My First Steps: Setting Up a Node.js Environment for AI Scripting
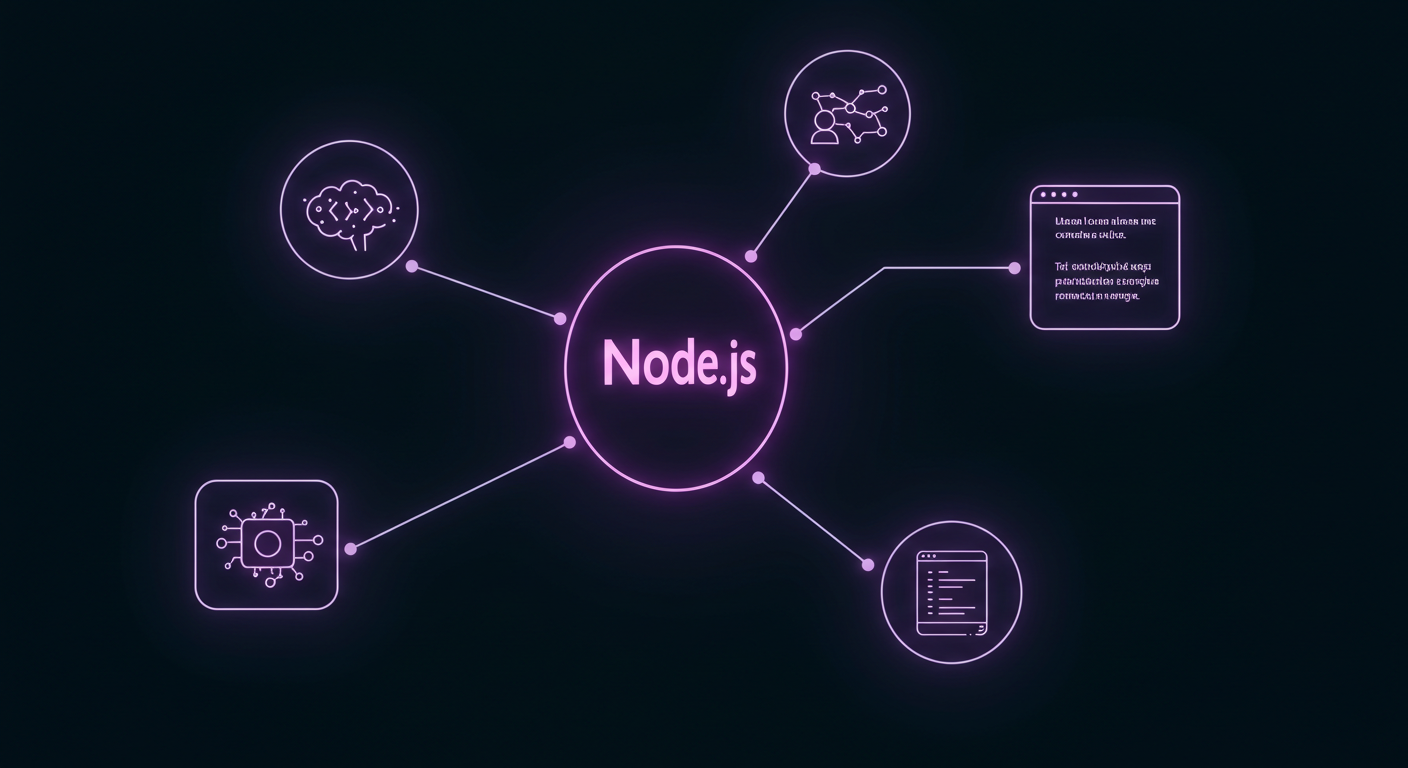
As I dive deeper into the world of AI, I’m finding that many interesting tools, APIs, and quick scripting tasks are often best handled with JavaScript, particularly outside the browser environment. That’s where Node.js comes into the picture. While Python has long been my go-to for many AI tasks, I’ve realized that being comfortable with Node.js opens up a whole new ecosystem of possibilities, especially for web-related AI integrations or for building quick command-line tools to interact with AI services.
Setting up a new development environment can sometimes feel like a hurdle, so I wanted to document my process for getting Node.js up and running. This isn’t an exhaustive developer’s guide, but rather a friendly walkthrough for anyone, like me, who might be approaching Node.js with specific AI-related projects in mind and just needs to get the foundations in place.
What is Node.js and Why Bother?
For those new to it, Node.js is essentially a runtime environment that allows you to run JavaScript code on your server or your local machine, outside of a web browser. This is incredibly powerful because:
- JavaScript Everywhere: You can use the same language (JavaScript) for both front-end (browser) and back-end (server) development, which can simplify things.
- NPM (Node Package Manager): Node.js comes with NPM, which is the largest ecosystem of open-source libraries in the world. Need to make an HTTP request to an AI API? There’s a package for that. Want to process data? There are packages for that too.
- Asynchronous Nature: Node.js is designed to be non-blocking and asynchronous, making it very efficient for I/O-bound operations (like making API calls to AI services and waiting for a response).
- Tooling and Community: Many modern development tools and a vast, active community are built around Node.js.
For my AI explorations, I’ve found Node.js useful for:
- Building quick scripts to test out AI API endpoints.
- Creating simple backends for AI-powered web applications.
- Automating tasks that involve web interactions.
- Using JavaScript-based AI libraries.
Step 1: Installing Node.js and NPM
This is surprisingly straightforward. The best way to install Node.js (which includes NPM) is typically using an installer from the official website or via a version manager.
-
Direct Download (Recommended for Simplicity):
- Go to the official Node.js website: nodejs.org
- You’ll usually see two versions offered: LTS (Long Term Support) and Current.
- LTS: This is the recommended version for most users. It’s stable, well-tested, and will be supported for a longer period. This is what I typically choose.
- Current: This version has the latest features but might not be as stable. Good for trying out cutting-edge stuff, but for general use, LTS is safer.
- Download the installer for your operating system (Windows, macOS, Linux).
- Run the installer and follow the on-screen prompts. It’s usually a standard “next, next, finish” process.
-
Using a Version Manager (More Advanced, but Flexible): Tools like nvm (Node Version Manager) for macOS/Linux or nvm-windows for Windows allow you to install and manage multiple versions of Node.js on the same machine. This is super handy if you work on different projects that require different Node versions. For a first-time setup, the direct download is perfectly fine, but nvm is worth looking into as you progress. I eventually switched to using nvm for flexibility.
Verifying the Installation: Once the installation is complete, open your terminal (Command Prompt or PowerShell on Windows, Terminal on macOS/Linux) and type the following commands:
node -v
This should print the installed Node.js version (e.g., v18.17.0).
npm -v
This should print the installed NPM version (e.g., 9.6.7).
If you see version numbers, congratulations! Node.js and NPM are ready to go.
 (Imagine a screenshot of a terminal window displaying version numbers after running
 node -v and npm -v.)
Step 2: Your First Node.js Script (“Hello, AI World!”)
Let’s create a super simple Node.js script to make sure everything is working.
-
Create a new folder for your Node.js projects (e.g.,
my-node-ai-scripts). -
Inside this folder, create a file named
hello.js. -
Open
hello.jsin your favorite text editor (VS Code is a great choice with excellent JavaScript support) and add the following code:// hello.js const message = "Hello, AI World! Node.js is ready for scripting."; console.log(message); // A simple function function greet(name) { return `Greetings, ${name}! Let's build some AI.`; } console.log(greet("Domdhi")); -
Save the file.
-
Go back to your terminal, navigate into your project folder (
cd my-node-ai-scripts), and run the script using Node.js:node hello.js
You should see the following output in your terminal:
Hello, AI World! Node.js is ready for scripting.
Greetings, Domdhi! Let's build some AI.
Success! You’ve just run your first JavaScript code using Node.js.
Step 3: Understanding package.json and Installing Packages with NPM
Most Node.js projects use a package.json file. This file keeps track of your project’s metadata (like name, version) and, crucially, its dependencies (the external NPM packages your project needs).
-
Initialize a
package.jsonfile: In your project folder in the terminal, type:npm init -yThe
-yflag tells NPM to use the default settings. This will create apackage.jsonfile. -
Installing an NPM Package: Let’s say we want to make an HTTP request to an AI API. A very popular package for this is
axios. To install it:npm install axiosThis command does two things:
- Downloads the
axiospackage and its dependencies into anode_modulesfolder within your project. - Adds
axiosas a dependency in yourpackage.jsonfile.
- Downloads the
Now you can require or import axios in your Node.js scripts to use its functionality.
Example using axios (conceptual):
// script_using_axios.js
const axios = require('axios'); // For CommonJS modules (default in older Node)
// OR for ES Modules (if package.json has "type": "module" or file is .mjs)
// import axios from 'axios';

async function fetchAIData() {
  try {
    const response = await axios.get('https://api.example.com/ai-service');
    console.log("AI Response:", response.data);
  } catch (error) {
    console.error("Error fetching AI data:", error.message);
  }
}

fetchAIData();
To run this, you’d type node script_using_axios.js.
Ready to Script and Explore!
And that’s basically it for a foundational Node.js setup! With Node.js and NPM installed, you now have a powerful environment for:
- Writing JavaScript scripts to interact with AI APIs.
- Building command-line interface (CLI) tools for your AI workflows.
- Developing simple web servers or backends for AI-powered applications.
- Experimenting with the vast range of JavaScript libraries available through NPM.
My journey into Node.js has been driven by practical needs in my AI explorations, and I’ve found it to be a relatively smooth experience. The ability to quickly prototype ideas, connect to services, and automate tasks using a language I’m already familiar with from web development is a huge plus.
If you’re looking to broaden your AI toolkit, especially for tasks involving web technologies or extensive libraries, setting up a Node.js environment is a valuable step. Don’t be intimidated – the basics are quite accessible!
What are you planning to use Node.js for in your AI adventures? Or if you’re already a Node.js user, any favorite packages for AI-related tasks? Share your thoughts in the comments!