From Text to Image: Your First Steps into AI Art Generation
From Text to Image: Your First Steps into AI Art Generation
If you’ve been hearing the buzz about AI creating stunning images from simple text descriptions, you might be wondering, “How do I even get started?” Trust me, I was in the same boat not too long ago! The idea of typing a sentence and watching a unique piece of art materialize felt like something out of science fiction. But the good news is, it’s more accessible than ever, and I’m here to walk you through the basic steps to create your very first AI-generated image.
This isn’t about becoming a master prompt engineer overnight (that’s a journey in itself!), but about understanding the core process and experiencing that “wow” moment for yourself. Let’s dive in!
What Exactly Is Text-to-Image AI?
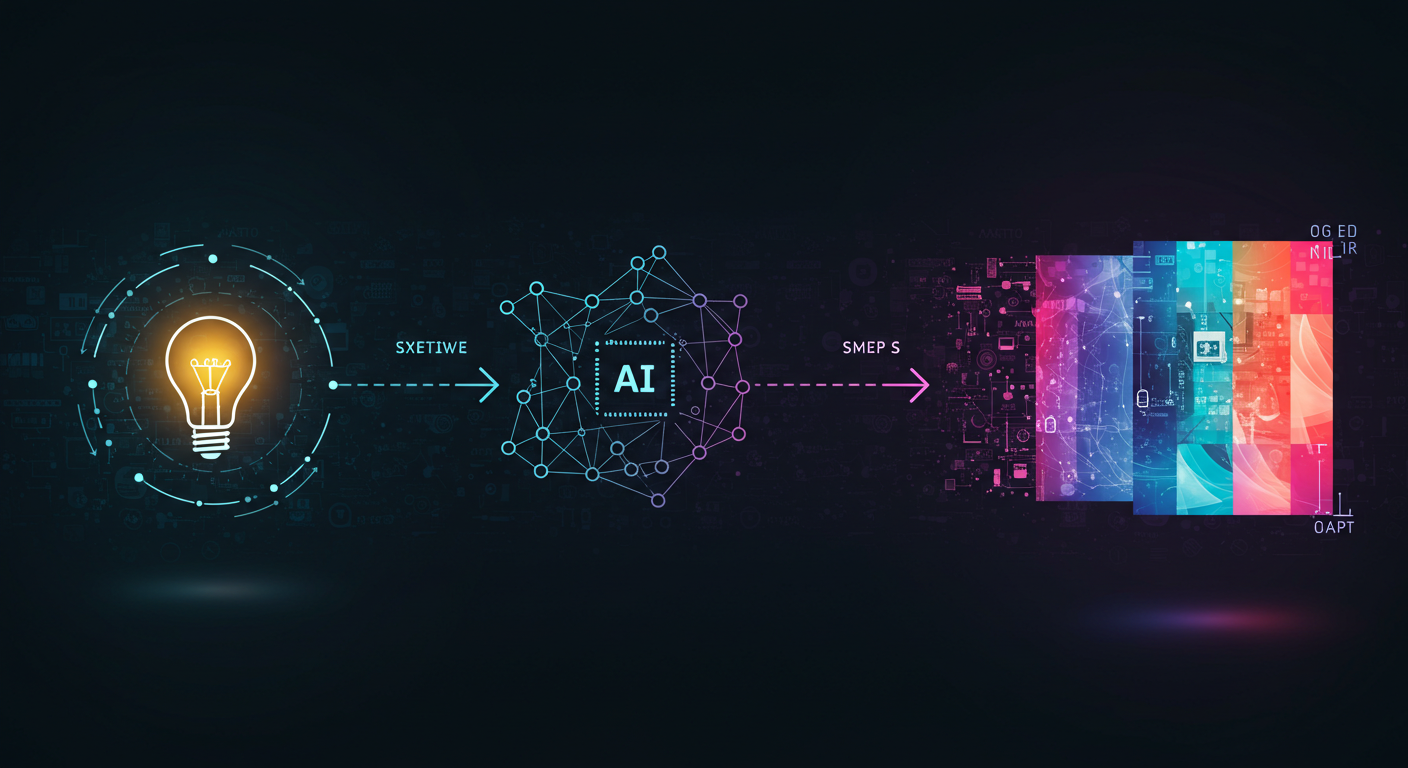
At its heart, text-to-image AI uses complex algorithms (often called diffusion models, like those powering Midjourney, DALL-E, and Stable Diffusion) that have been trained on vast datasets of images and their corresponding text descriptions. When you provide a text “prompt,” the AI uses its learned associations to generate a new image that visually represents your words.
Think of it like giving instructions to an incredibly imaginative artist who has seen millions of pictures. The more clearly and creatively you describe what you want, the better the result often is.
Step 1: Choosing Your First AI Art Tool
There are many fantastic AI image generators out there, each with its own interface, strengths, and community. For absolute beginners, I often recommend starting with something web-based and user-friendly. Here are a few popular options that are great for getting your feet wet:
- Microsoft Bing Image Creator (powered by DALL-E): Free, easy to access if you have a Microsoft account, and produces high-quality images. It’s built right into Bing chat or accessible via its own site.
- NightCafe Creator: Offers a free tier, multiple AI models to try (including Stable Diffusion), and a very user-friendly interface.
- Canva’s Text to Image: If you already use Canva, they have a built-in “Text to Image” app (often using Stable Diffusion variants) that’s simple to use within their design environment.
- Midjourney (via Discord): Incredibly powerful and known for its artistic flair, but it has a bit of a learning curve as it primarily operates through Discord commands. They sometimes offer free trials, but it’s mostly a paid service. For your very first image, one of the more directly web-based options might be simpler.
My Tip for Beginners: Don’t get bogged down in choosing the “perfect” tool right away. Pick one that looks inviting and easy to access, and just start! You can always explore others later. For this guide, let’s assume you’re using a tool with a simple text box for your prompt.
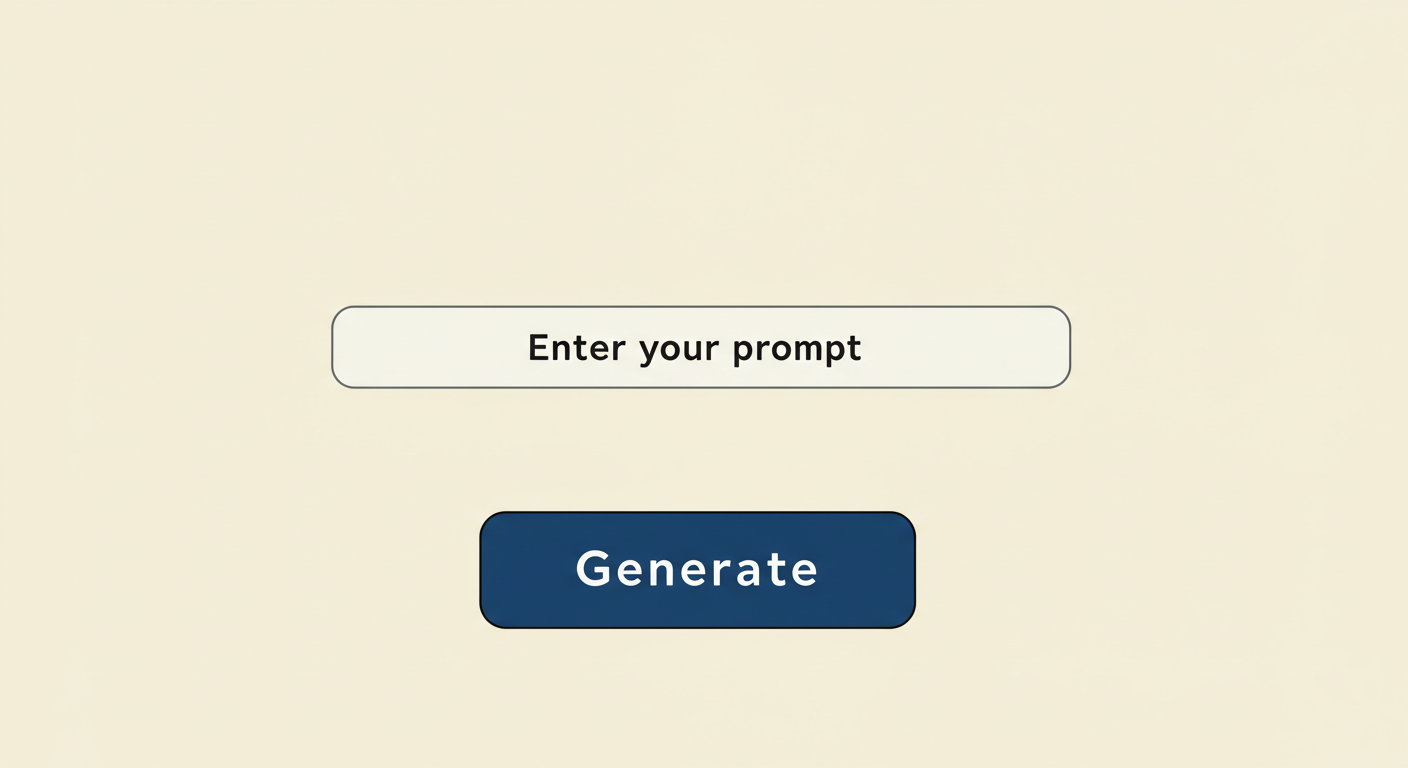 (Imagine a simple UI here: a text input box labeled “Enter your prompt,” and a “Generate” button.)
Step 2: Crafting Your First Prompt - Keep it Simple!
This is where the magic begins! Your “prompt” is the text description you give the AI. For your very first image, don’t overthink it. Start with something simple and descriptive.
Good First Prompt Ideas:
- “A red apple on a wooden table”
- “A fluffy white cat sleeping on a blue cushion”
- “A beautiful sunset over a calm ocean”
- “A futuristic cityscape at night”
What to Include (Generally):
- Subject: The main thing you want to see (e.g., “cat,” “tree,” “spaceship”).
- Key Attributes: Adjectives that describe the subject (e.g., “fluffy white cat,” “tall oak tree,” “sleek silver spaceship”).
- Setting/Background (Optional but helpful): Where is the subject? (e.g., “on a blue cushion,” “in a sunny field,” “flying through space”).
Example Prompt Construction:
Let’s say we want a picture of a happy dog.
- Subject:
dog - Attribute:
happy, golden retriever - Setting:
playing in a park - Our prompt:
"A happy golden retriever playing in a park"
Step 3: Hitting “Generate” and Awaiting the Magic
Once you’ve typed your prompt into the tool’s input box, you’ll usually see a “Generate,” “Create,” or similar button. Click it!
Now, take a breath. The AI needs a moment to process your request. This can take anywhere from a few seconds to a minute or two, depending on the tool and how busy its servers are. You might see a progress bar or a loading animation.
Step 4: Reviewing Your First Creation!
And then… voila! Your first AI-generated image (or often, a set of 2-4 variations) will appear.
Take a moment to look at what the AI created.
- Did it understand your core subject?
- Did it include the attributes you mentioned?
- How does it make you feel?
Don’t worry if it’s not perfect. AI interpretation can be quirky, especially with simpler prompts. Sometimes the results are hilarious, sometimes surprisingly beautiful, and sometimes a bit… weird. That’s all part of the fun!
Example Output for “A happy golden retriever playing in a park”:
 (Imagine an AI-generated image here showing a reasonably good depiction of a golden retriever in a park, looking happy.)
Step 5: Iterate and Experiment (The Fun Continues!)
Your first generation is just the beginning. Now you can start playing:
- Tweak Your Prompt:
- Add more details: “A happy golden retriever puppy with floppy ears, excitedly chasing a red ball in a sunny park, green grass, blue sky.”
- Change the style: “A happy golden retriever playing in a park, cartoon style” or “A happy golden retriever playing in a park, oil painting.” (Many tools have separate style selectors, or you can add style cues to the prompt.)
- Change the mood: “A majestic golden retriever sitting thoughtfully in a misty forest.”
- Use Tool-Specific Features: Many tools allow you to “re-roll” (generate again with the same prompt), create “variations” of an image you like, or “upscale” an image to a higher resolution.
- Try Negative Prompts (if available): Some tools let you specify what you don’t want to see (e.g.,
--no blurry, text).
The more you experiment, the more you’ll get a feel for how the AI “thinks” and how to guide it.
You’ve Done It!
Congratulations! You’ve officially stepped into the world of AI art generation. You’ve transformed your words into a unique visual. From here, the possibilities are virtually limitless. You can explore different tools, learn advanced prompting techniques, try different artistic styles, and create anything you can imagine.
My biggest piece of advice is to have fun and be curious. Don’t be afraid to try silly prompts or ambitious concepts. The AI art space is all about exploration and discovery.
I’d love to hear what your first AI-generated image was! Share your experience or your first prompt in the comments below – let’s celebrate those first steps into this exciting new creative frontier!