The Digital Canvas: My Creative Process
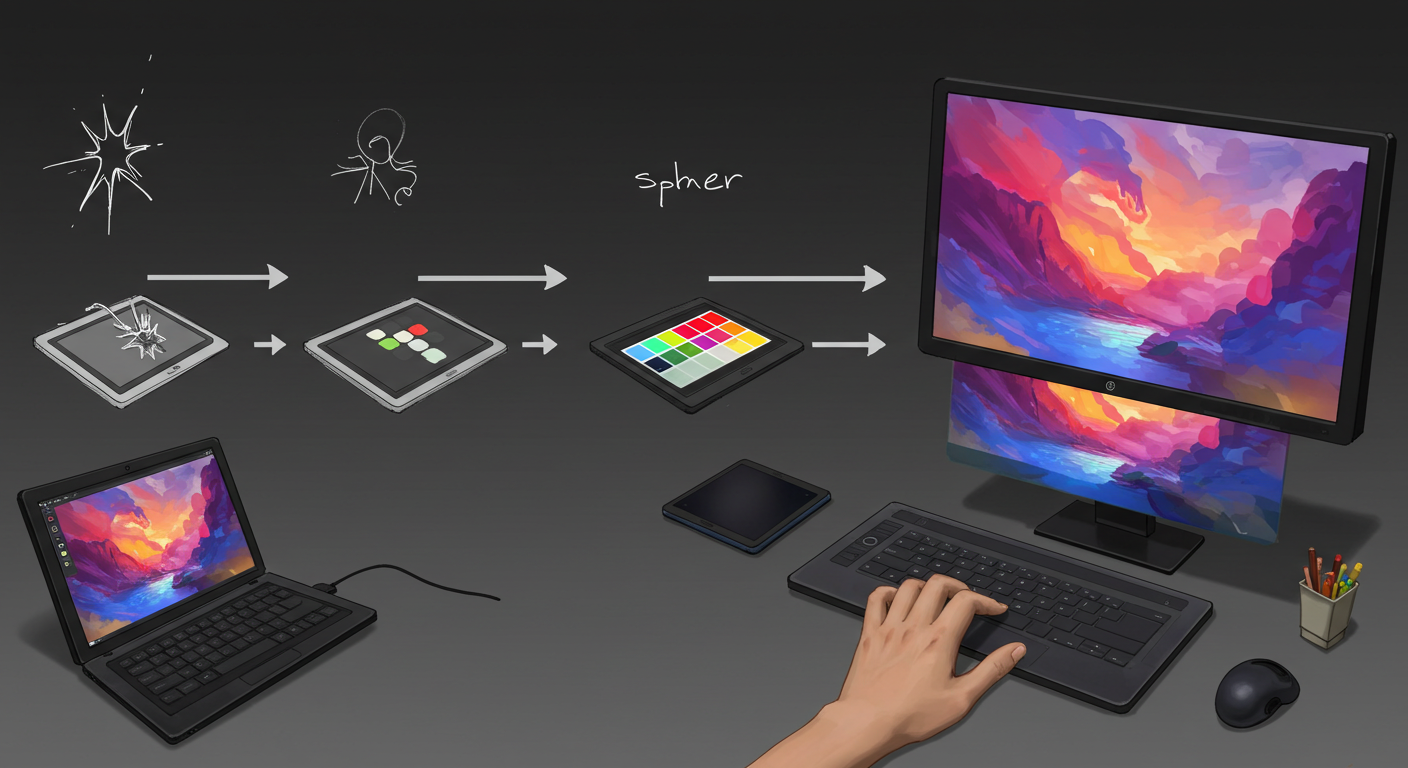
In this post, I’ll share my complete digital art workflow from initial concept to finished piece. I’ll cover the software I use, my planning process, sketching techniques, and final rendering steps. Creating digital art can seem daunting at first, but breaking it down into steps makes it much more manageable and enjoyable. Think of this as a map, but remember it’s okay to take detours!
Let’s walk through how I typically bring an idea from my head onto the screen.
Tools of the Trade: My Digital Art Toolkit
You don’t need the most expensive software or hardware to start, but having the right tools for you is important.
- Drawing Tablet: Essential for natural drawing movements. I use a [mention type, e.g., Wacom Intuos, Huion Kamvas, iPad with Apple Pencil]. It takes some getting used to drawing while looking at the screen (if it’s not a screen tablet), but practice makes perfect!
- Primary Drawing Software: This is where most of the magic happens. Popular options include Adobe Photoshop, Procreate, Clip Studio Paint, Krita (a great free option!). I personally use [Mention your software, e.g., Clip Studio Paint] because of its fantastic brushes and comic/manga tools. Find one that suits your style and needs.
- Reference & Inspiration Gathering: Sometimes just a browser is enough, but tools like PureRef are great for organizing image references on a second monitor or even overlaying them.
Concept & Planning: The Idea Phase
Every piece starts with an idea! This phase is about exploring that initial spark and figuring out the core elements of your artwork.
- Brainstorming/Ideation: This could be a sudden flash of inspiration, a prompt, or exploring a theme. I often start with rough notes or tiny thumbnail sketches to quickly get ideas down. Don’t censor yourself here!
- Gathering References: Good art relies on good references. Whether it’s for anatomy, clothing, environments, lighting, or specific objects, find images to help you understand what you’re drawing. Pinterest, real-life photos, and dedicated reference sites are invaluable.
- Composition Thumbnails: Before drawing anything detailed, I do several small, quick sketches focusing just on the layout and composition. Where are the main elements? What’s the focal point? This helps avoid major structural issues later.
Sketching & Linework: Laying the Foundation
This is where the idea starts taking visual form on your digital canvas.
- Rough Sketch: On a new layer in my software, I do a very loose sketch. This is just to get the pose, proportions, and main shapes right. It’s messy, and that’s okay! Reduce the opacity of this layer when you move on.
- Refined Sketch (Optional but Recommended): On a new layer above the rough sketch, clean things up. Refine the anatomy, details, and composition based on your references. This makes the linework stage much easier.
- Linework (Inking): On a new layer above the refined sketch, create your final lines. Use a steady hand (or the software’s stabilization features!). Varying line weight can add depth and make the art more dynamic. I use a specific brush in [Your Software] that feels natural to me. Take your time here, as clean linework makes coloring easier.
Coloring & Rendering: Bringing it to Life
Color adds mood, depth, and form to your linework.
- Flat Colors (Base Colors): Create new layers below your linework. Fill in the main areas with flat, solid colors. Use the selection tools to stay within your lines. Having separate layers for different elements (skin, hair, clothes, background) is crucial for flexibility.
- Shadows & Highlights: On new layers (often set to ‘Multiply’ blend mode for shadows and ‘Screen’ or ‘Overlay’ for highlights), start adding shading. Think about your light source! Where is the light coming from, and how would it hit the forms? Start with basic shadows, then add highlights.
- Rendering & Blending: This is where you smooth out transitions, add texture, and refine the lighting. Use softer brushes or blending tools. Build up layers of shadow and light to give forms volume. This stage can take the longest but makes a huge difference in the final look.
- Background (If applicable): Work on the background elements on layers below your character/subject. Ensure the background complements the foreground and doesn’t distract from your focal point.
Finishing Touches: Polish and Presentation
Almost done! This final stage is about making the artwork pop and getting it ready to share.
- Adjustments: Use adjustment layers (like Curves, Levels, Color Balance) to tweak the overall brightness, contrast, and color mood without permanently altering your artwork.
- Effects (Optional): Add any final effects like atmospheric perspective, depth of field, subtle textures, or overlays.
- Sign and Export: Don’t forget to add your signature! Then, save your artwork in a suitable format (like JPG or PNG) for sharing online. Make sure the resolution and file size are appropriate for where you’ll be posting it.
Develop Your Own Workflow
This is just my process, and every artist develops their own rhythm and preferred steps. The most important thing is to experiment, find what works for you, and stay consistent. Don’t be afraid to try new techniques or tools.
Creating digital art is a continuous learning process. By following a structured workflow, you can tackle complex pieces more effectively and watch your skills grow!
Happy creating!


