Advanced Techniques in AI Image Generation
Advanced Techniques in AI Image Generation
So, you’ve dipped your toes into AI image generation, marveled at the initial magic, and perhaps even shared some of your first creations. Awesome! But what if I told you there’s a whole other layer of control and creativity waiting to be unlocked? If you’re ready to move beyond basic prompts and start truly sculpting your AI-generated visions, then you’re in the right place. Today, I want to share some of the advanced techniques I’ve been exploring to really push the boundaries of what’s possible with AI art.
It’s a journey of constant learning, but these methods have significantly leveled up my ability to guide the AI towards the exact image I have in my mind. Let’s dive in!
Elevating Your Prompts: Beyond Simple Phrases
While a simple, well-crafted sentence can yield amazing results, sometimes you need more precision. Here’s how I’ve been taking my prompting to the next level:
Multi-Prompting and Prompt Weighting
Many AI models, especially those based on Stable Diffusion, allow you to give different parts of your prompt varying levels of importance or even combine distinct concepts.
- Prompt Weighting: This is like telling the AI, “Hey, this part is really important!” The syntax can vary (e.g.,
(word:1.3)in A1111/ComfyUI for Stable Diffusion means “word” is 30% more important, whileword::1.3might be used elsewhere). For instance, if I want(a glowing crystal:1.5) held by a serene elf, forest background, the crystal gets extra emphasis. Experimenting with these weights can dramatically shift the focus of your image. - Midjourney’s Multi-Prompting: Midjourney uses
::as a separator for concepts. For example,hot doggives you a picture of a hot dog. Buthot:: dog::prompts Midjourney to consider “hot” and “dog” separately, potentially leading to a fiery canine! You can also assign weights here:hot::2 dog::1would make “hot” twice as important as “dog”.
Learning the specific syntax for your chosen tool is key, but the principle is about guiding the AI’s attention.
The Strategic Art of Negative Prompts
We all know about telling the AI what we want, but telling it what we don’t want is equally powerful. Beyond just ugly, blurry, think more strategically:
- Anatomy:
extra limbs, missing fingers, malformed hands(still a classic struggle for AI!) - Quality:
jpeg artifacts, noisy, grainy, low resolution, compression - Distractions:
text, watermark, signature, username, logo - Unwanted Styles/Elements: If you’re getting too much of a certain vibe, try to negate it.
anime, cartoon, photorealistic(if you want a painting, for example).
I often build up a standard set of negative prompts and then add specific ones based on unwanted elements appearing in my generations.
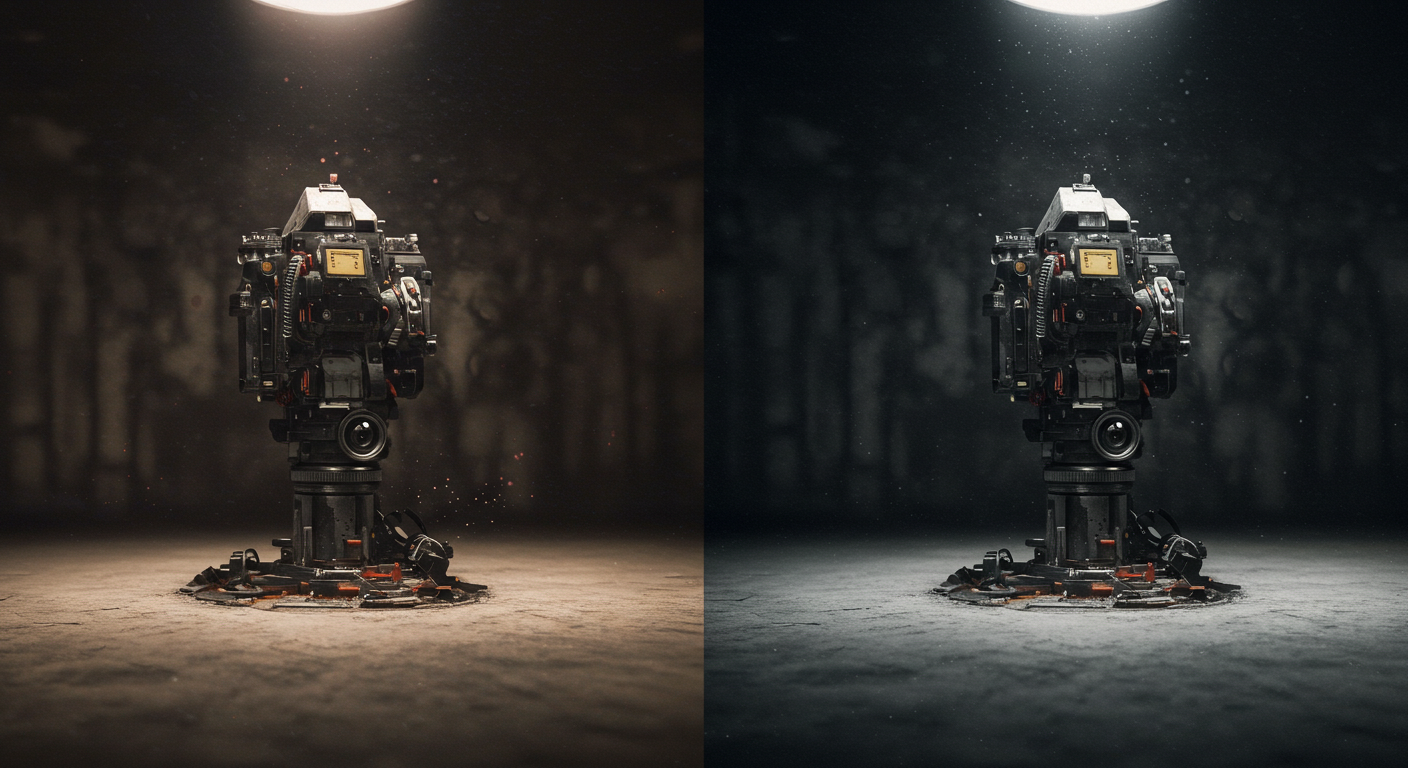 (Imagine a side-by-side comparison: one image with artifacts/unwanted elements, the other cleaner due to negative prompts.)
Mastering the Canvas: Composition and Camera Control
You don’t have to leave the composition entirely to chance! You can direct the AI like a virtual cinematographer:
- Camera Angles: Use terms like
drone shot, bird's-eye view, low angle shot, worm's eye view, eye-level shot, Dutch angle, over-the-shoulder shot. - Shot Types: Specify
close-up, extreme close-up, medium shot, full body shot, wide shot, establishing shot, portrait, landscape. - Lens Effects: Try
fisheye lens, bokeh, shallow depth of field, macro lens.
Combining these with your subject can lead to incredibly dynamic and intentional compositions. For example: Low angle shot, a towering medieval knight, dramatic lighting, full body shot.
Unlocking Model Power: Parameters That Matter
Most AI image generation tools have a set of parameters you can tweak. Understanding these can feel like getting access to the AI’s control panel. The names and ranges vary, but here are some common ones:
For Stable Diffusion (often found in UIs like Automatic1111 or ComfyUI):
CFG Scale(Classifier Free Guidance): This dictates how strictly the AI should adhere to your prompt. Lower values (e.g., 3-7) give the AI more creative freedom, potentially resulting in more artistic or unexpected images. Higher values (e.g., 7-12+) make the AI stick closer to the prompt, which can be good for precision but sometimes leads to less “imaginative” results or even artifacts if pushed too high. I usually start around 7 and adjust from there.Sampling Steps: This is the number of iterations the AI takes to refine the image from noise. More steps generally mean more detail and coherence, but with diminishing returns and longer generation times. I find 20-30 steps is often a sweet spot for many samplers, but some newer samplers work well with fewer.Samplers: These are different algorithms used to denoise the latent image. Each sampler (e.g.,Euler a,DPM++ 2M Karras,DDIM) can produce subtly different styles, levels of detail, or even handle certain types of prompts better. It’s worth experimenting to find your favorites!
For Midjourney (as parameters you add to your /imagine prompt):
--chaos <0-100>: This parameter influences how varied and unexpected the initial grid of images will be. A higher chaos value leads to more diverse and often surprising results. I use this when I want to break out of a creative rut or explore truly unique interpretations.--stylize <0-1000>(default is 100): This determines how much of Midjourney’s inherent artistic training is applied. Lower values stick closer to your prompt with less “opinion” from MJ, while higher values lean more into its strong aesthetic.--weird <0-3000>: As the name suggests, this parameter injects a dose of the bizarre and unconventional. It’s fantastic for surreal or abstract art.
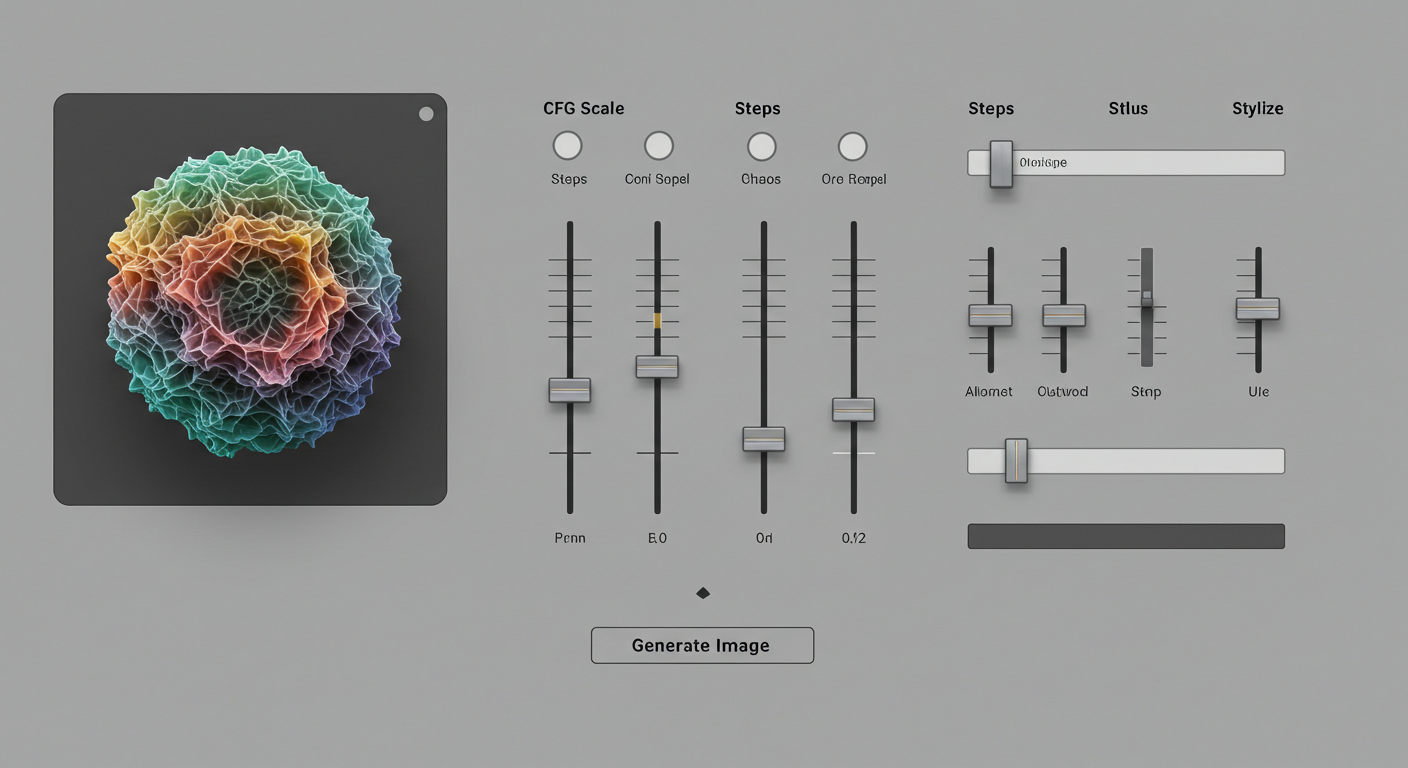 (Imagine a mock-up UI showing sliders or input fields for CFG, Steps, Chaos, Stylize.)
The Next Level: Image-to-Image and ControlNet (A Glimpse)
These are game-changers for control:
Image-to-Image (img2img): Instead of starting from pure noise, you provide an initial image (a sketch, a photo, or even another AI generation). The AI then uses your prompt to transform this base image. This is amazing for refining compositions, changing styles, or adding elements to an existing picture.ControlNet(Primarily for Stable Diffusion): This is a more recent and incredibly powerful development. ControlNet allows you to guide image generation using various conditioning inputs like human pose skeletons (OpenPose), depth maps, Canny edges, segmentation maps, and more. Want your character in a specific pose? ControlNet can help you achieve that with remarkable accuracy. It’s a deep topic, probably worthy of its own post, but it’s a cornerstone of advanced AI image control.
The Secret Sauce: Iteration and Wild Experimentation
Knowing these commands and parameters is one thing, but the real “advanced technique” is adopting a mindset of relentless iteration and experimentation.
- Don’t be afraid of “failed” generations. They’re learning opportunities. Analyze what went wrong and why.
- Change one variable at a time when you’re trying to understand its effect.
- Combine techniques. Use a weighted multi-prompt with specific camera angles and fine-tuned model parameters.
- Push the boundaries. What happens if you set
--chaosto max in Midjourney with a really simple prompt? What if yourCFG Scaleis super low or high? Sometimes the most interesting results come from breaking the “rules.”
Your Canvas Awaits with New Tools
Stepping into these advanced techniques has felt like unlocking new brushes and palettes for my digital canvas. The level of nuance and control they offer is genuinely exciting, allowing for a much deeper artistic expression through AI.
While it might seem daunting at first, I encourage you to pick one or two of these concepts and start playing. The best way to learn is by doing, and the AI art community is incredibly helpful if you get stuck.
What advanced techniques have you found most impactful in your AI art journey? Are there any you’re curious to learn more about? Share your thoughts and experiences in the comments – I’m always eager to learn from fellow explorers in this amazing field!